How to Install Composite Cladding?
Introduction to Composite Cladding
What Is Composite Cladding?
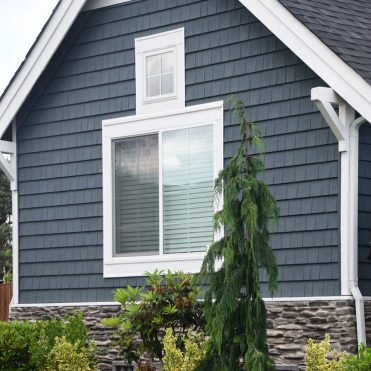
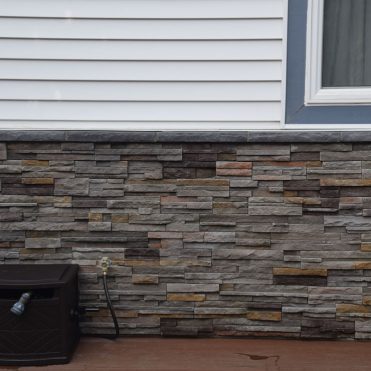
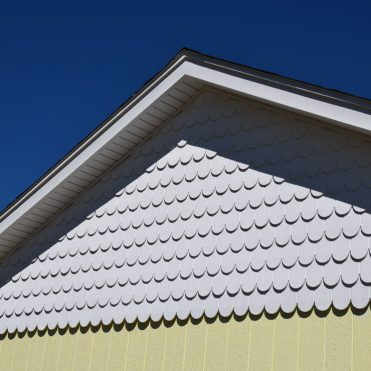
Composite cladding is an engineered exterior material made from a mix of recycled wood fibers and plastic. It’s used to enhance the appearance and durability of building exteriors, providing a modern, weather-resistant finish with low maintenance demands. With its ability to mimic the look of wood while outperforming it in key areas, knowing how to install composite cladding can be a game changer for any property.
Why Choose Composite Over Traditional Materials?
Unlike timber, composite cladding does not rot, splinter, or require frequent staining. It’s resistant to mold, mildew, UV rays, and extreme weather, making it a superior alternative to traditional materials. It also supports sustainable building goals by utilizing recycled content and reducing the need for chemical treatments. Understanding how to install composite cladding correctly ensures these benefits are maximized.
Benefits of Composite Cladding
Low Maintenance and High Durability
- Withstands heavy rain, wind, and sun without cracking or warping.
- No need for painting or sealing—just occasional cleaning.
Weather Resistance and UV Protection
- Resists harsh climates and prolonged sun exposure.
- Maintains its appearance and performance over time.
Aesthetic Flexibility and Natural Wood Appeal
- Offers a sleek, uniform appearance in a range of finishes.
- Designed to look like wood without the upkeep.
Sustainability: Made from Recycled Materials
- Made from recycled materials and designed for long lifespan.
Where Composite Cladding Works Best
Ideal Residential Applications
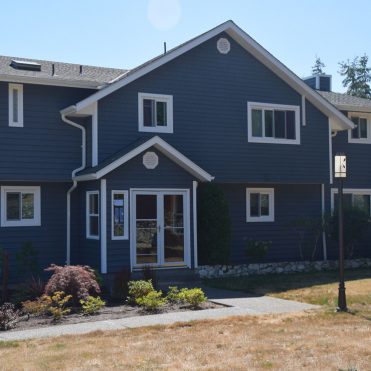
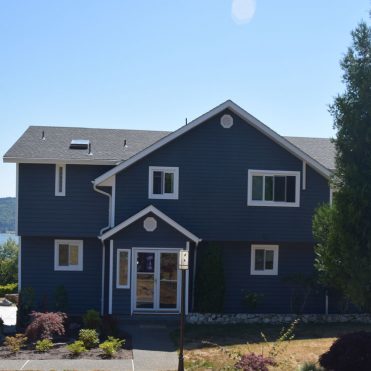
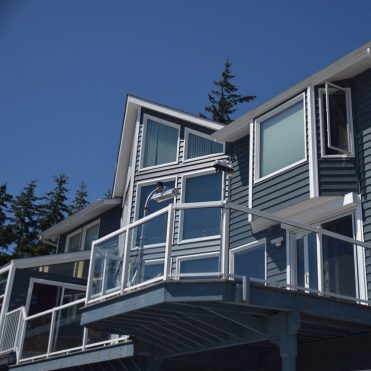
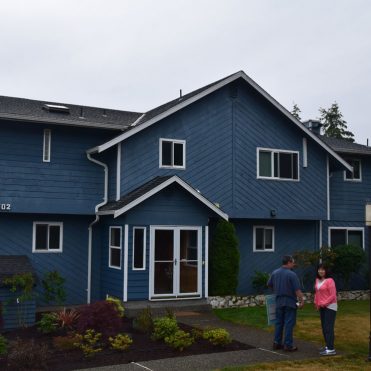
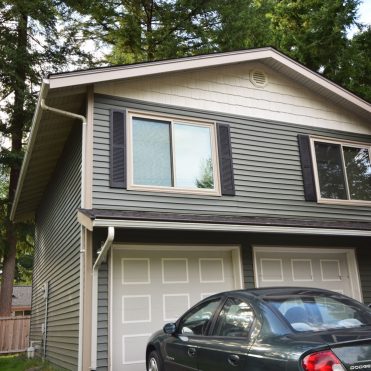
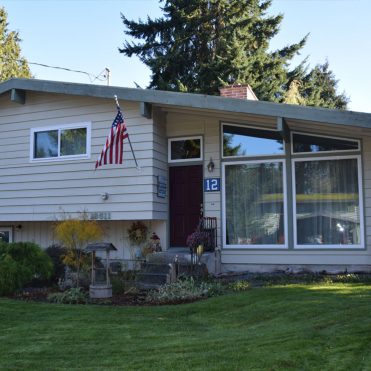
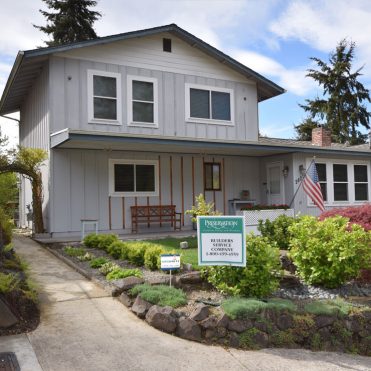
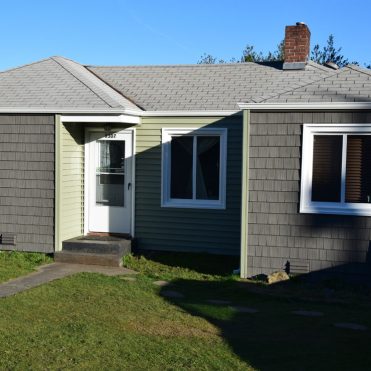
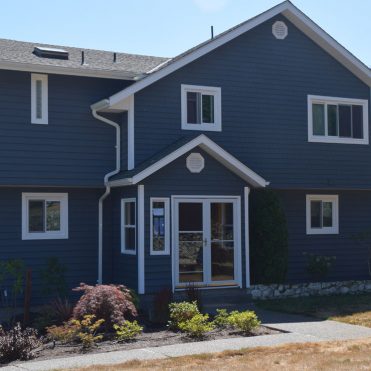
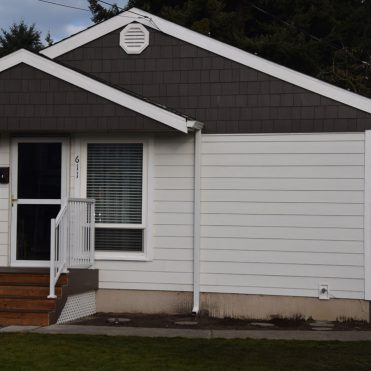
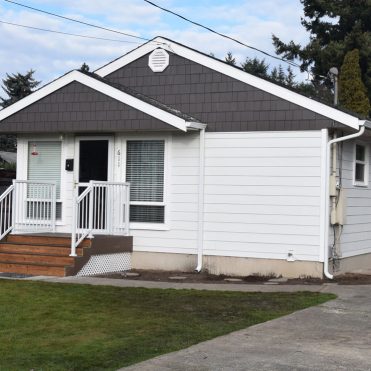
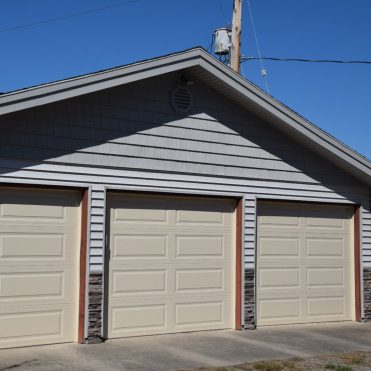
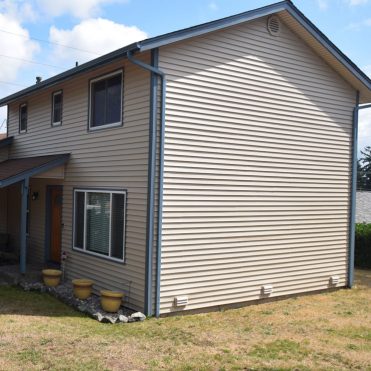
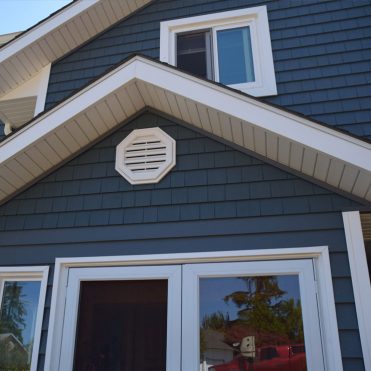
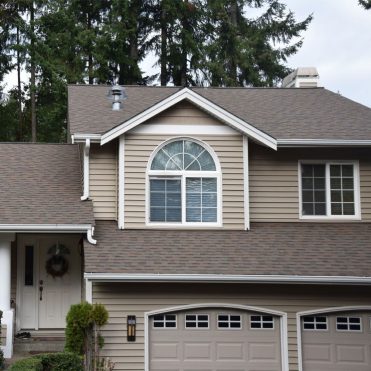
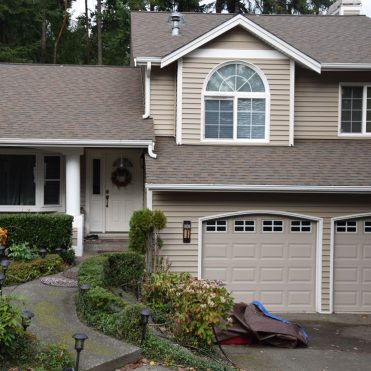
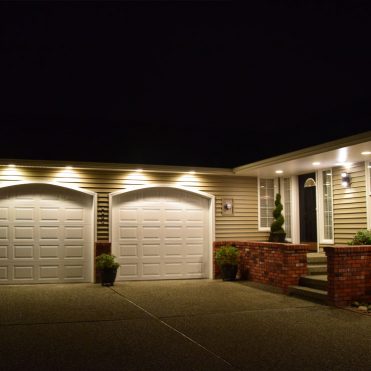
Composite cladding adds value and curb appeal to homes by providing a clean, modern look with added insulation. It can be used for full facades, upper-level accents, or as stylish enhancements to garages and porches.
Commercial and Institutional Uses
Offices, schools, and municipal buildings benefit from the longevity and professional finish of composite cladding. It minimizes long-term maintenance while maintaining a polished, presentable appearance.
Enhancing Outdoor Spaces and Garden Offices
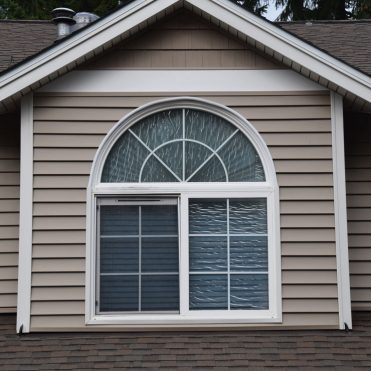
Outdoor buildings like studios and backyard offices are often exposed to harsh conditions. Composite cladding protects these structures while enhancing aesthetics with a contemporary, weather-resistant finish. When you learn how to install composite cladding effectively, these upgrades become easier to manage.
Planning and Preparation
Measuring the Surface Area
Start by measuring each section of the wall where cladding will be installed. Multiply the height and width of each section, then total all areas. Add an additional 5% to your estimate to account for cutting waste and off-cuts. This step is crucial when planning how to install composite cladding efficiently.
Checking and Prepping the Wall Condition
Ensure all surfaces are dry, clean, and free of cracks or structural defects. Remove incompatible existing coverings. Repair mold or water damage as needed.
Choosing Cladding Type, Color, and Layout
Pick a color and texture that complements your building’s exterior. Consider board direction—horizontal cladding adds width, vertical cladding adds height.
Accounting for Waste (Add 5%)
Always account for trimming and installation waste. Order about 5% more materials than your total calculated area.
Tools and Materials Needed
Full List of Required Tools
- Hammer drill or power drill
- Jigsaw or circular saw
- Spirit level
- Measuring tape
- Carpenter’s square
- Pencil or chalk for marking
- Protective gear: gloves, goggles, dust mask
Materials Checklist
- Composite cladding boards
- Treated timber battens (minimum 38mm thick)
- Stainless steel screws (pan head and countersunk)
- Starter rails or starter fasteners
- Fascia boards and corner trims
- Breathable membrane or vapor barrier
- Insect mesh (for cavity protection)
Storage and Handling Tips for Composite Boards
- Store cladding boards flat and shaded.
- Avoid exposure to direct sun pre-installation.
- Handle boards carefully to avoid damage.
Understanding Subframes and Battens
Purpose of Battens in Cladding Support
Battens raise the cladding off the wall, creating space for airflow and drainage.
Timber vs. Plastic Battens: What to Use
Use treated timber battens that meet code. Avoid plastic or aluminum battens for main structures.
Battens Specifications
- Thickness: Minimum 38mm
- Spacing: No more than 600mm
- Fix each batten at three points
- Use double battens at joints and window/door areas
Importance of Ventilation and Air Gaps
Create a 38mm cavity for drainage and airflow. Helps prevent rot and improves energy efficiency.
Preparing the Wall for Installation
Installing Waterproof Membranes and Vapour Barriers
Install breathable membranes before battens. Use vapor barriers for additional protection in exposed areas.
When and Where to Use Insect Mesh
Apply insect mesh at cavity entry points to block pests while maintaining airflow.
Battens Installation Steps
- Fix vertical or horizontal battens based on layout
- Level each batten using a spirit level
- Install extra battens at joints, doors, and windows
- Pre-drill holes to avoid splitting
- Use packers as needed to even out the surface
Horizontal Cladding Installation (With and Without Starter Rails)
Option 1: With Starter Fasteners or Rails
- Mark a line 20–30mm above the ground
- Secure starter fasteners or rails to battens
- Slide the first board into the fasteners
- Secure top of board with pre-drilled screws
Option 2: Without Starter Rails
- Align the first board 20mm off ground manually
- Pre-drill and screw through board into battens
- Leave expansion gap and check for level
Installing Remaining Horizontal Boards
Step-by-Step Installation
- Slide next board into groove of board below
- Pre-drill holes 2mm wider than screws
- Maintain expansion gaps: 8mm (4m boards), 6mm (2.5m boards)
- Secure each board with stainless steel screws
- Cut and fit around windows, use packers as needed
Vertical Cladding Installation
Using Counter Battening for Airflow
Install counter battens (vertical over horizontal) for ventilation.
Recommended Batten Angles
Bevel battens at 15° to improve runoff and reduce pooling.
Starting from the Corner
Begin vertical installation from an outside corner or edge.
Securing and Leveling Subsequent Boards
Align and screw boards in sequence. Use pre-drilled holes and check plumb lines.
Special Considerations for Vertical Layouts
Use correct trims and limit overhangs to 10mm or less.
Edging, Trims, and Finishing Touches
Installing Corner Trims and Edge Boards
Trim corners neatly. Pre-drill trim and secure over cladding or battens.
Using Fascia Boards to Hide Expansion Gaps and Board Ends
Hide joints with fascia boards. Secure with countersunk screws.
Pre-drilling and Countersinking Techniques
Drill holes wider than screw threads. Countersink to prevent surface splitting.
Securing Around Rooflines and Ledges
Seal cladding where it meets rooflines or ledges. Use trims or flashings.
Common Mistakes to Avoid
Errors to Watch For
- No air gap: causes moisture buildup
- Inadequate battens: leads to poor support
- Forgetting expansion gaps: causes warping
- Uneven battens: causes alignment issues
- No membrane: increases risk of water damage
Final Inspection and Maintenance Tips
Completing Your Installation
Inspect board alignment and screw tightness. Clean surface with warm water.
Long-Term Care
- Avoid pressure washers
- Clean annually
- Tighten any loose fittings
Contact Builders Service Company
As premier exterior contractors in the Pacific Northwest and a locally owned company, our reputation speaks for itself. With decades of hands-on expertise, Mason and the Builders Service Company team deliver trusted results in siding, roofing, and window services.
Builders Service Company is proud to be a Better Business Bureau “A+” accredited business. We have twice received the prestigious Golden Hammer Contractor Award from Alcoa Building Products and hold the Dealer of Distinction title for Preservation Windows and Siding.
We specialize in:
- Residential Roofing
- Door & Window Replacements
- Garden & Bay Window Installation
- Custom Decks
- Vinyl Siding Installations
Let us help improve your home’s comfort, beauty, and value. Since 1974, we’ve been bringing energy-efficient solutions and expert craftsmanship to homes across Washington.
Call Builders Service Company at 888-980-8580 to schedule your composite cladding installation today and let us show you how to install composite cladding the right way.


