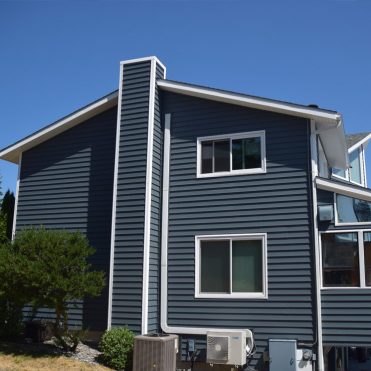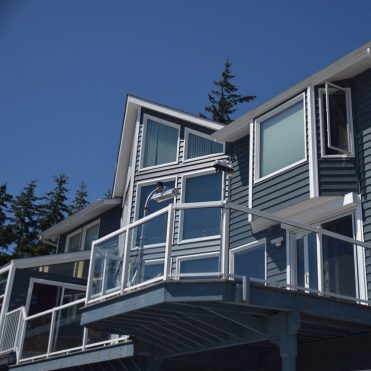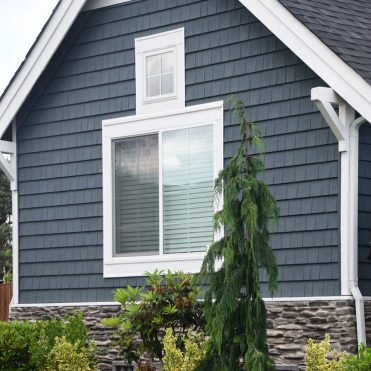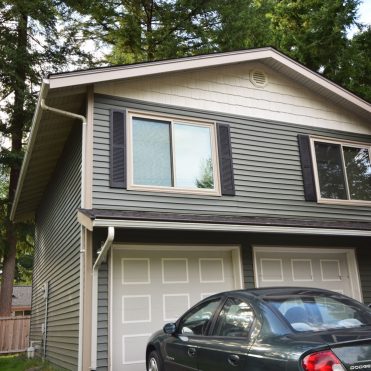


If you are learning how to stagger vinyl siding, the biggest mistake is thinking the job is simply about starting each row with a different-length piece. Good staggering requires planning the joints, maintaining the correct overlap, keeping every course level, and leaving enough room for vinyl to expand and contract.
These small installation details matter. A wall can look straight from several feet away yet develop obvious seam patterns, buckling, or uneven courses when the panels are laid out poorly. The goal is a balanced exterior where individual joints do not draw your eye.
What Makes a Better Siding Layout?
Before cutting the first panel, keep these practical rules in mind:
- Keep siding end laps from lining up vertically on neighboring courses.
- Allow at least three courses before repeating a joint in the same vertical line.
- Use approximately a 1-inch panel overlap unless the manufacturer specifies otherwise.
- Avoid an obvious stair step pattern across the wall.
- Face overlaps away from entrances and common viewing areas when possible.
- Check horizontal alignment every fifth or sixth course.
What Does It Mean to Stagger Vinyl Siding?
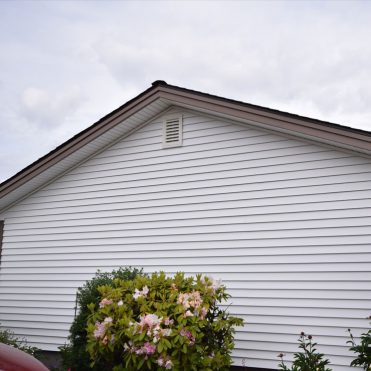
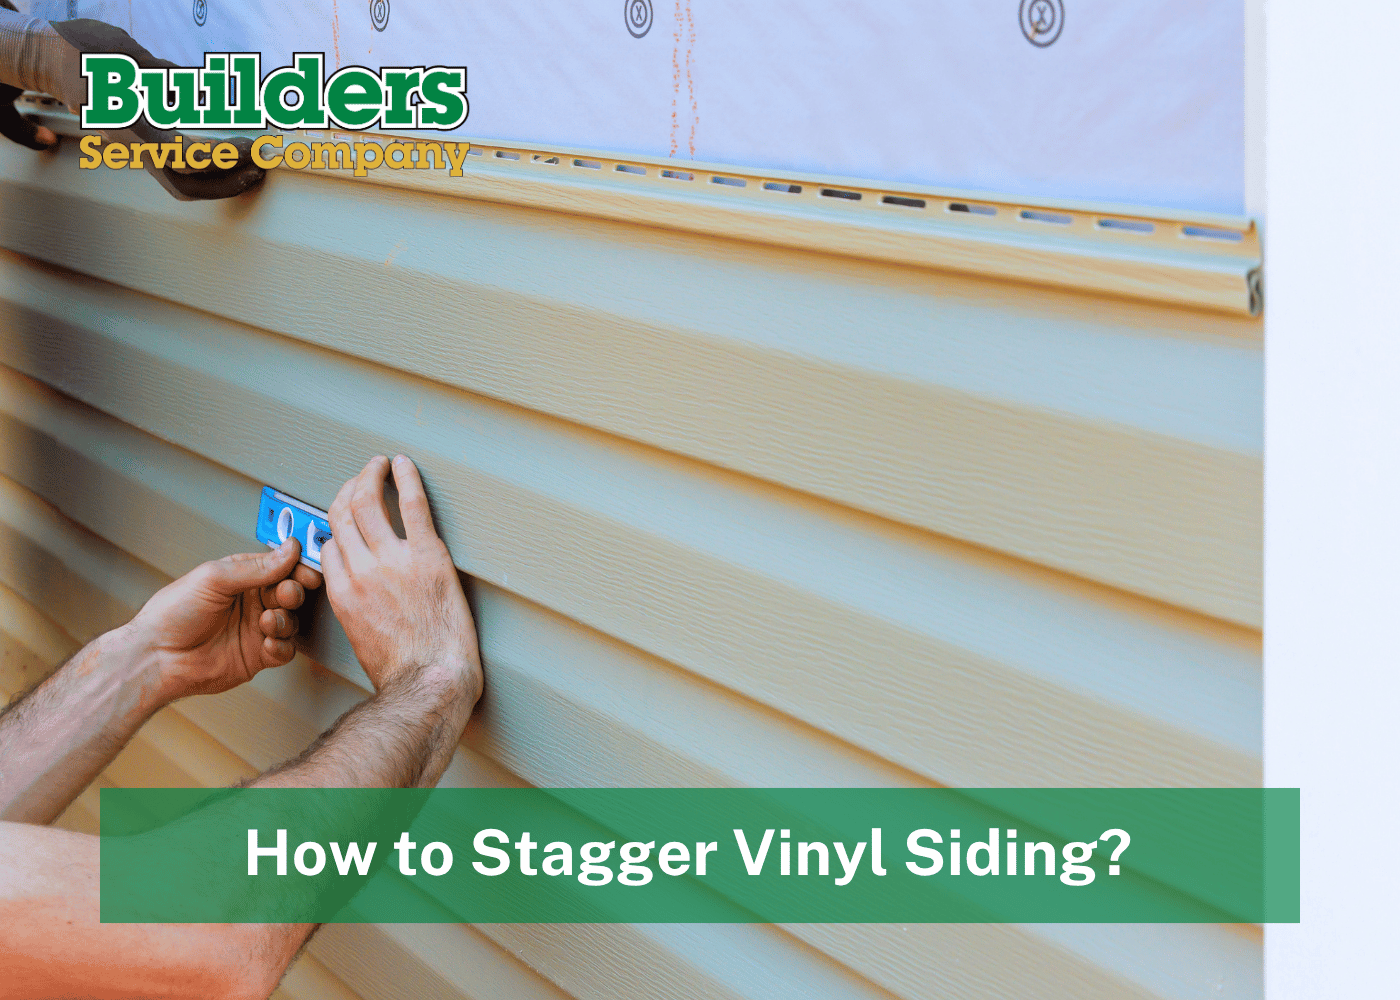
Staggering means positioning the joints between siding panels in different locations from one horizontal course to the next so the seams do not form a noticeable vertical line.
Think of the wall as a series of long horizontal rows. If every siding panel begins and ends at approximately the same location, those joints become easy to see. Instead, installers use cut panels of different lengths to separate joints and create a more natural-looking layout.
Proper staggering is primarily about creating a clean appearance and managing the panel layout. Weather protection still depends on the complete exterior system, including proper flashing, sheathing protection, trim, and water management.
How to Stagger Vinyl Siding Step by Step
A good installation starts with the wall layout, not the nail gun.
Plan the Joint Locations Before You Cut
Measure the wall and identify windows, doors, corners, utility penetrations, and other interruptions.
Rather than installing a full panel automatically and solving the joints as you go, determine where the siding end laps will land several courses ahead. This helps prevent awkward short pieces and repetitive seams.
Avoid beginning or ending a course with a panel shorter than about 24 inches when the layout gives you a practical alternative.
Get the Starter Strip Level
The starter strip establishes the position of the first course. If it is slightly out of level, the error can become much more noticeable as installation moves up the wall.
Lock the first siding panel securely into the starter strip without pulling it upward under tension. The panel should sit naturally in the lock.
Change the Starting Length of Each Course
To understand how to stagger vinyl siding properly, focus on where each new course begins.
A simple layout might start one course with a full panel, then begin subsequent courses with appropriately sized cut panels. However, do not create a perfectly repeating staircase.
A more varied pattern usually produces a cleaner finished appearance.
Overlap Panels Correctly
When two horizontal siding panels meet, an overlap of approximately 1 inch is common. Always follow the specific siding manufacturer’s instructions because panel designs can differ.
Whenever possible, use factory-notched ends. If you must use a cut panel, recreate the necessary clearance around the locking and nailing areas so the two sections can move properly.
Position visible overlaps away from doors, walkways, and the direction from which the wall is most often viewed.
Do Not Nail Vinyl Siding Tight
Vinyl moves as temperatures change. Nails should normally pass through the center of the fastening slots rather than pinning the material firmly against the wall.
A typical installation leaves roughly 1/32 inch between the nail head and the nailing hem. The siding should be able to move slightly from side to side after fastening.
The same principle applies when you install J-channel and other trim. Panels need manufacturer-specified clearance where they terminate inside channels.
Check Your Work as You Move Up the Wall
Do not wait until you reach the gable or soffit to discover the courses have drifted.
Check the installation every five or six courses. Look at the horizontal line, window alignment, panel locks, overlaps, and joint pattern.
Near the top of a wall, a utility trim and snap-lock punch may be used to secure a cut edge where the normal locking system has been removed.
Common Staggering Mistakes and Better Alternatives
| Common mistake | Better approach |
|---|---|
| Joints stacked directly above one another | Separate repeating joints by at least three courses |
| Perfect stair-step seams | Use a more varied, planned pattern |
| Very short starter pieces | Adjust the layout before cutting panels |
| Nails driven tightly | Center fasteners and leave room for movement |
| Overlaps facing the front entrance | Turn overlaps away from primary viewing areas |
One of the easiest ways to improve how to stagger vinyl siding is simply to step back periodically. A seam pattern that looks random when you are standing two feet from the wall can become surprisingly obvious from the driveway.
Why Installation Details Matter in Washington
Western Washington homes deal with persistent rain, moisture, wind, and significant seasonal temperature changes. That makes the complete siding installation particularly important.
Staggering alone will not protect a house from moisture. Proper flashing around openings, correctly installed trim, a dependable drainage layer behind the siding, and appropriate clearances all work together.
Horizontal siding also requires different installation techniques from vertical siding. The fastening pattern, trim arrangement, and water-management details should match the specific material and installation instructions rather than being treated as interchangeable.
When Should You Call a Professional Siding Installer?
Bring in a professional when the project involves widespread siding replacement, damaged sheathing, complicated flashing, multiple penetrations, tall walls, gables, or uncertainty about the underlying moisture barrier.
Learning how to stagger vinyl siding is useful even when you are not planning a complete DIY installation. It helps you recognize whether the contractor working on your home is paying attention to details that influence the finished appearance.
Siding Installation Is About More Than the Visible Panels
Builders Service Company has worked on Washington home exteriors since 1974. After more than 50 years in the industry, the company has seen how seemingly minor installation choices can affect the way a siding project looks and performs over time.
For homeowners considering complete siding replacement, Builders Service Company can inspect the home, discuss siding options, and explain whether repair or replacement makes more sense. The company also offers its Evergreen Shield Siding System, developed specifically with Pacific Northwest conditions in mind.
Instead of trying to determine a major exterior project from photographs or a short phone conversation, homeowners can schedule a free in-home consultation and discuss the property, materials, installation, and project considerations directly.
Why Homeowners Choose Builders Service Company
- Serving Washington homeowners since 1974
- More than 50 years of exterior remodeling experience
- Better Business Bureau A+ accredited business
- Locally owned company
- Licensed and insured exterior contractor
- Two-time Golden Hammer Contractor Award recipient
- Founder Mason Ruppel continues to oversee company projects
Contact Builders Service Company
Considering new siding for your Washington home?
Service area: Washington communities including Seattle, Tacoma, Bellevue, Everett, Olympia, Auburn, Kent, Puyallup, Renton, Bremerton, and many surrounding areas.
Schedule a free in-home consultation to discuss your siding project and determine the right approach for your home.
Frequently Asked Questions
How far apart should vinyl siding seams be staggered?
End laps should not align vertically unless they are separated by at least three courses. This prevents obvious repeating seam lines across the finished wall.
How much should vinyl siding panels overlap?
Approximately 1 inch is common for horizontal vinyl siding, but the manufacturer’s installation instructions should always determine the final overlap.
Should vinyl siding seams form a stair-step pattern?
No. A repeated stair step can make the seams much more noticeable, so varying your starting panel lengths generally creates a cleaner appearance.
Can vinyl siding be nailed tightly to the house?
No. Vinyl needs room to expand and contract, so fasteners should normally be centered in the nail slots without clamping the panel tightly against the wall.
Does staggering siding stop water from getting behind it?
Not by itself. Moisture management depends on the full wall system, including flashing, drainage materials, properly installed trim, panel overlaps, and correct siding installation.
Can you stagger siding using leftover cut pieces?
Yes, usable offcuts can sometimes begin later courses, provided they are long enough and do not create stacked joints, repetitive patterns, or improper factory-end connections.